| |
| Stretch: |
Highway 101 (Ten Mile Creek) to Big Bend |
| Difficulty: |
Class IV with one portage at low flows |
| Distance: |
16 miles, 1 or 2 days |
| Flows: |
rafts (1600) 1800 - 6000 cfs, kayaks 1500 - 8000, IK minimum 1200 |
| Gauge: |
flow measured downstream at Leggett
(LEG, or about
40% MRD) |
| Gradient: |
41 fpm average, 100 fpm before confluence |
| Put-in: |
where Ten Mile Creek comes close to highway 101, 1460' |
| Take-out: |
Big Bend cabins and fishing access, 810' |
| Shuttle: |
12 miles (20 minutes) one-way |
| Maps: |
Delorme Northern California, AAA Northern California,
Topo
|
| Season: |
winter and spring, from recent rain |
| Agency: |
private, BLM |
| Notes: |
© 1997 Bill Tuthill,
CreeksYahoo |
Note for 2006: Tenmile Creek has become highly willow-infested,
perhaps due to summer rain and lack of winter floods in recent years.
Consequently this trip is not recommended for rafts.
Kayaks can squeeze thru most of the willow jungles,
but several judicious portages might be in order.
Rafts might have an easier time starting at Branscomb (see Cassady book)
but the class IV rapid just above the confluence is also blocked by willows.
The South Fork of the Eel runs every winter, and cannot be
recommended highly enough. Holbek/Stanley call it the
“classic run in the Eel drainage” and they are right-on.
This river, relatively warm because of its proximity to the coast,
makes a good case for living in California. The run's only defect
is the first 4 miles of flatwater on Ten Mile Creek, but after that
comes a solid class III-IV run with one potential portage, and
good rapids from start to finish. Scenery is stupendous, with
second growth redwoods, deep mossy canyons, and green water.
The South Fork Eel is about as difficult as the Tuolumne below Lumsden,
except that the Eel has one likely portage, flows aren't as predictable,
and the canyon is more isolated.
For inflatable kayaks, 1200 cfs (at Leggett) seems optimum;
carrying only about 25% of that flow, Ten Mile Creek is a bit bony,
but after the confluence hydraulics become quite large.
Rafts need higher flows, perhaps 1600 cfs minimum.
Some hardshell kayakers think 2500 cfs is optimum.
When the Leggett gauge fails to report,
estimate 40% of the flow at Miranda flow. Here is
a
new forecast page for stage and cfs at Miranda.
Boaters who enjoy camping might like to stay overnight on a forested bench
at the confluence, waiting for the water to drop
(check forecasts to make sure it won't rain).
- mile
- 0
- Put-in along highway 101 where gauge used to be (now removed);
look for gap in fence. Shuttle is only 20 minutes each way!
- 1.5
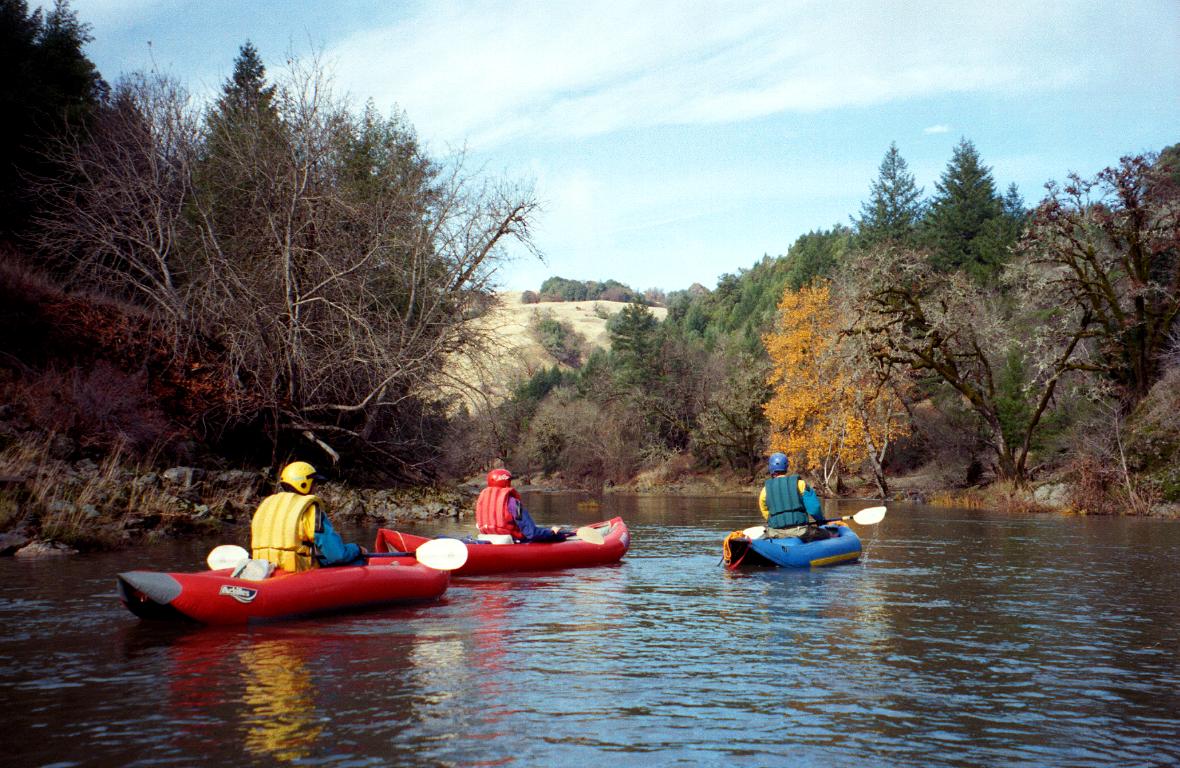
- Class I-II rapids for the first 4 miles, except for a class III
boulder maze here. Enter right and work left.
- 3.8
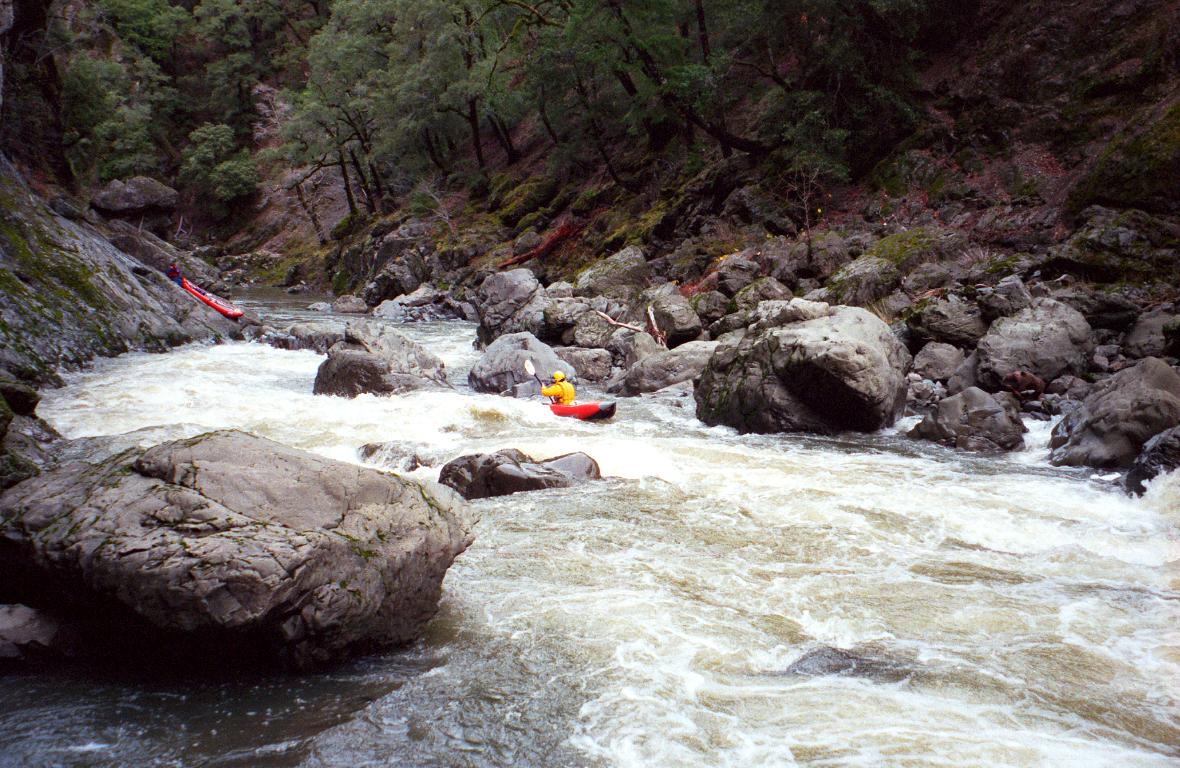
- Rock spire on the right announces the first major rapid, Big Fella,
a tight S turn on the far right against a boulder. This is the
toughest rapid for rafts on Ten Mile Creek.
- 4
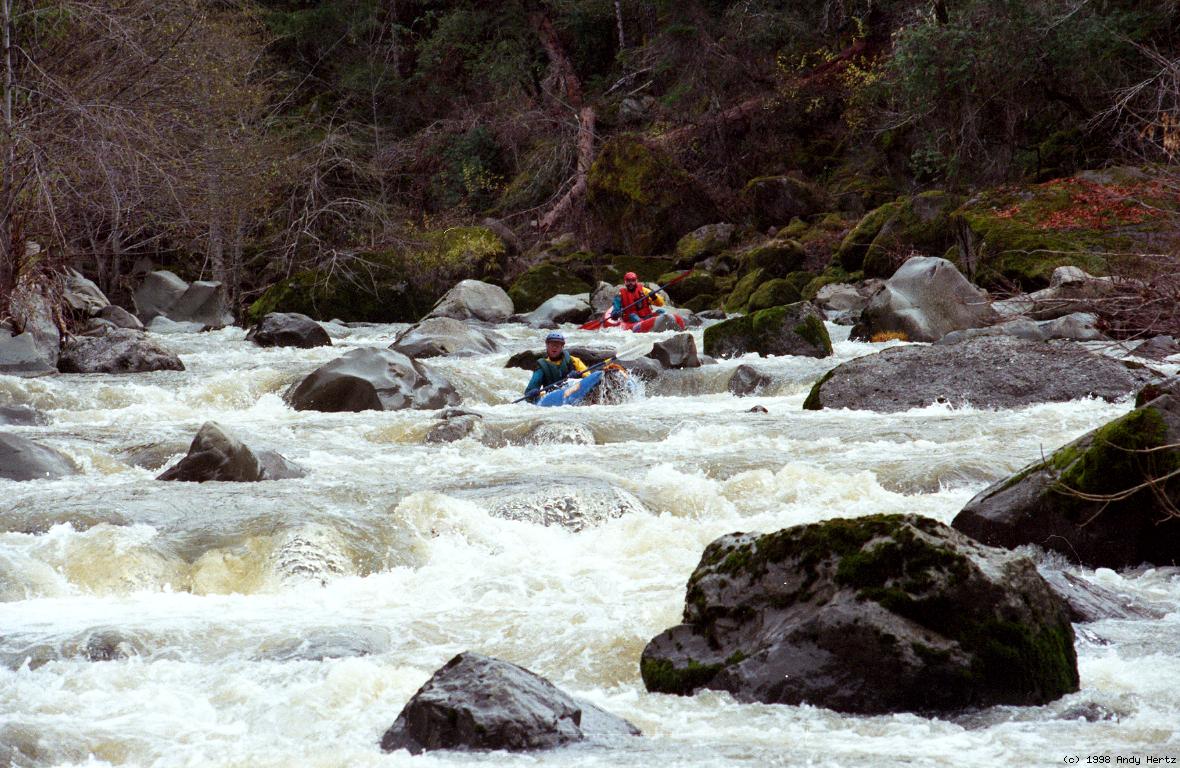
- Rapids pick up; generally class IV to the confluence; the last
two miles have a 100 fpm gradient.
- 5
- Huge Rock in Middle, class IV. Similar to the one downstream,
but with a larger rock obscuring the route, and not as difficult.
- 5.7
- Big Rock in Middle, class IV+. Hardest rapid on Ten Mile Creek,
because the big rock hides moves below; easiest route is on right,
but left is mandatory at very low water.
- 6
- South Fork Eel drops thru class IV+ Ten Mile Creek Rapid on the left,
which you can carry up to run if you want. Beach and excellent
campsite on the right.
-
- 6.1
- Fun class III rapids begin.
- 6.5
- Headwall 1, class IV. Enter right and negotiate big drops around an
S-turn, past a big cliff on the right.
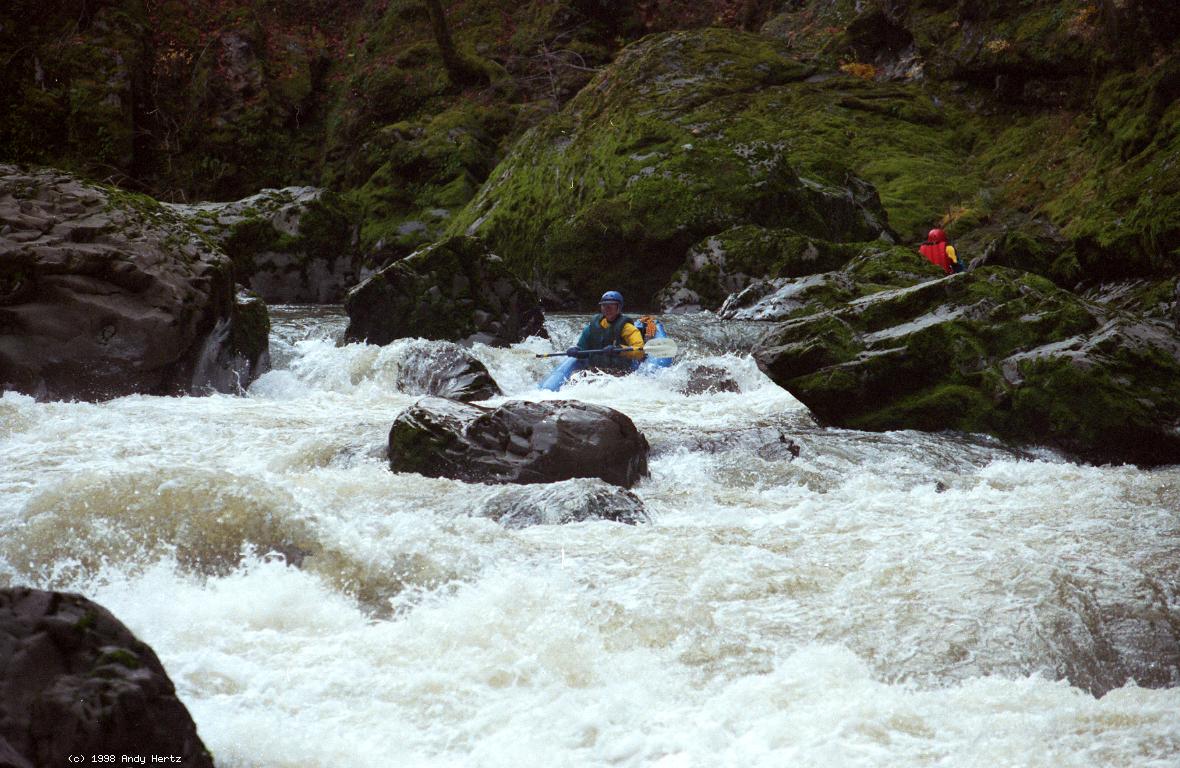
- 7
- Twisty Maze of Passages, class IV. Big rocks on the left create
an interesting technical challenge; an easy sneak route on the right
around a gravel island becomes available above 1500 cfs.
-
- Class III-IV rapids too numerous to remember, although one in there
somewhere is impassable at very low water.
- 8
- Headwall 2, class IV. At low flows this one is very rocky and
deserves a quick look from the right bank.
-
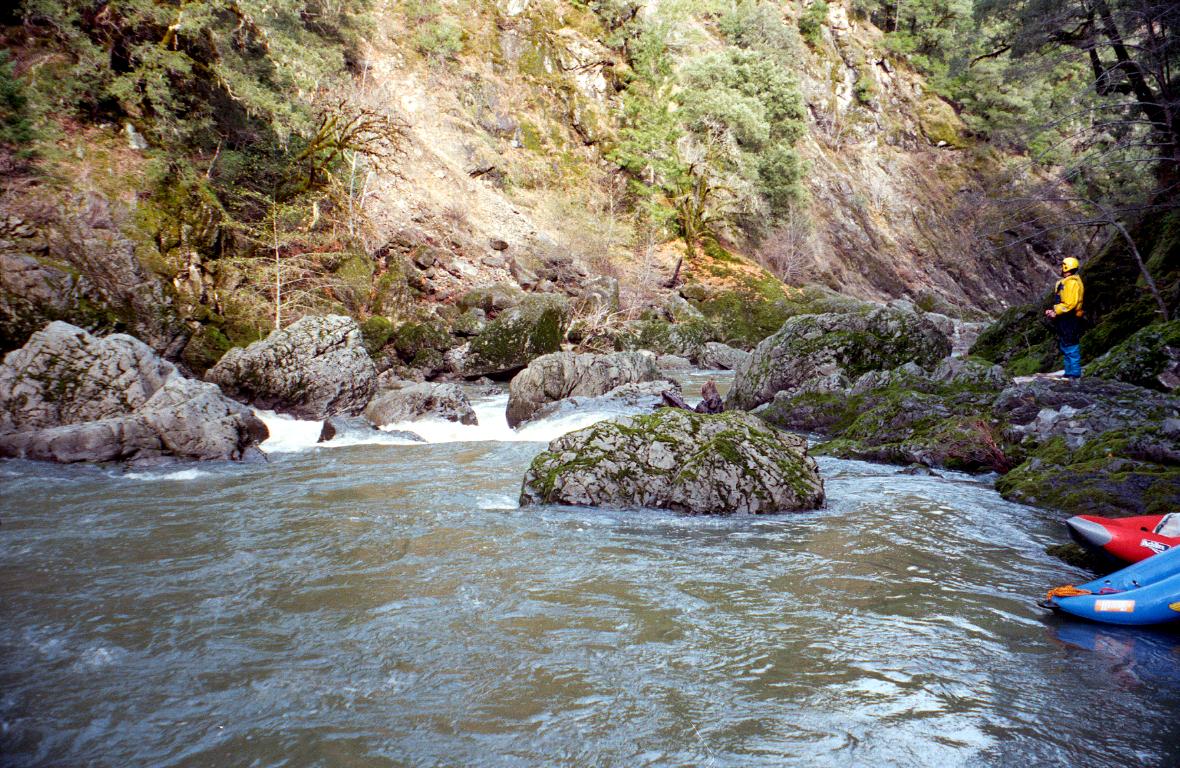
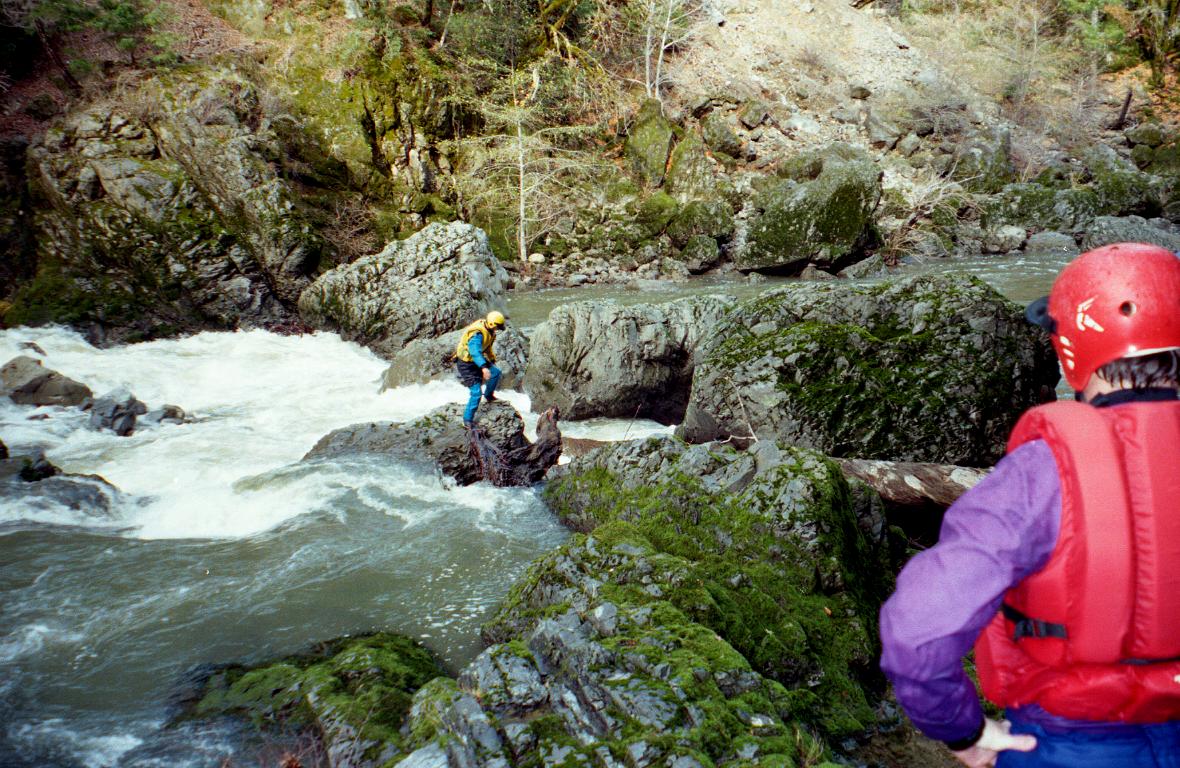
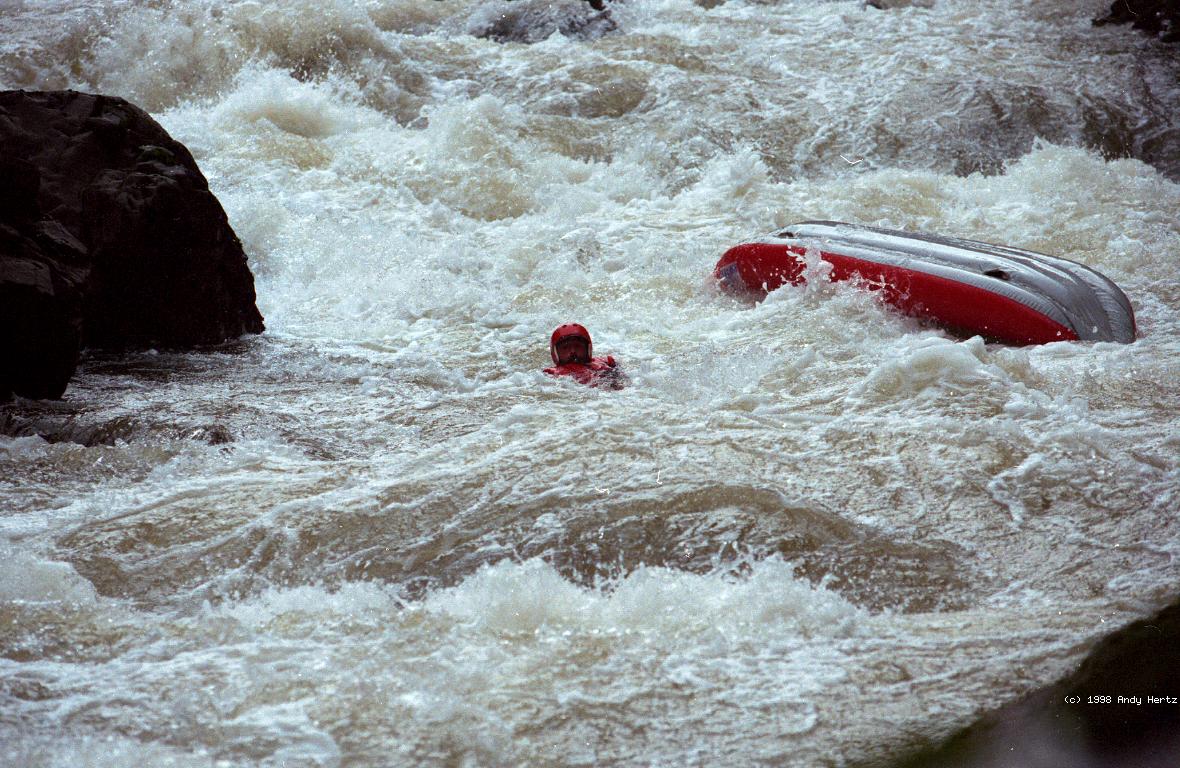
- 9
- Double Drop Where Slots Don't Match, class V-VI. Portage is
recommended at low water, when the best-looking chute appears
wider from above than it actually is. At higher flows the left
becomes runnable, if not blocked by a tree.
-
- A new log is blocking the right side of Double Drop (1997),
so especially at low water a portage is advisable. Three of four
possible chutes now contain strainers (1998).
-
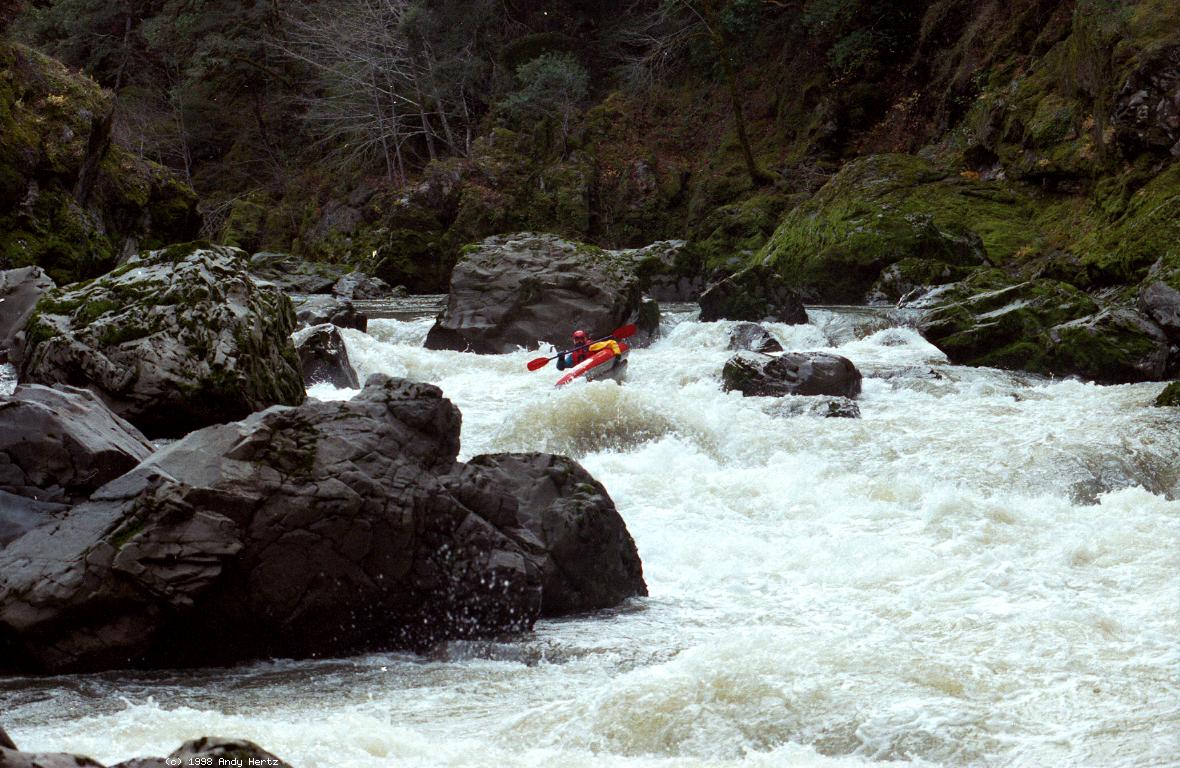
- 10.5
- Hole that Ate Chicago, class IV+. If you portage Double Drop,
this is the hardest rapid on the run. Start on the far left or
far right, slalom around rocks and holes, and choose either a left
or right exit to avoid Chicago rock (hole above 3000 cfs).
-
- 11
- Canyon becomes very deep. Class III-IV rapids continue unabated.
Some hydraulics are larger than anything in Chicago-eater.
- 14.4
- Rattlesnake Creek enters on the right. Only 3 class III-IV rapids
remain after this point.
- 16
- Big Bend Lodge on the right bank.
In 2010 the take-out fee was $10 per person, or $25 per vehicle,
and shuttle service was available at the Lodge, both upriver and downriver.
Cottages with hot showers and kitchens are available at reasonable rates,
and include river access, a short carry up a gravel bar from the river.
For reservations call 707-925-2440 or visit
bigbendlodge.com.
|
|
Creeks Navigation
Home
Recommended Runs
Map of Rivers
Alphabetic Index
Alphabetic Table
Text Search
Sponsored Links
|